Get to know the elements of the HighDesign user interface.
Home Window
The Home window opens by default when you launch HighDesign and presents the options to create or open projects, choose a template, and contains links to useful resources. It is organized in several sections that can be accessed through the sidebar on the left. From top to down:
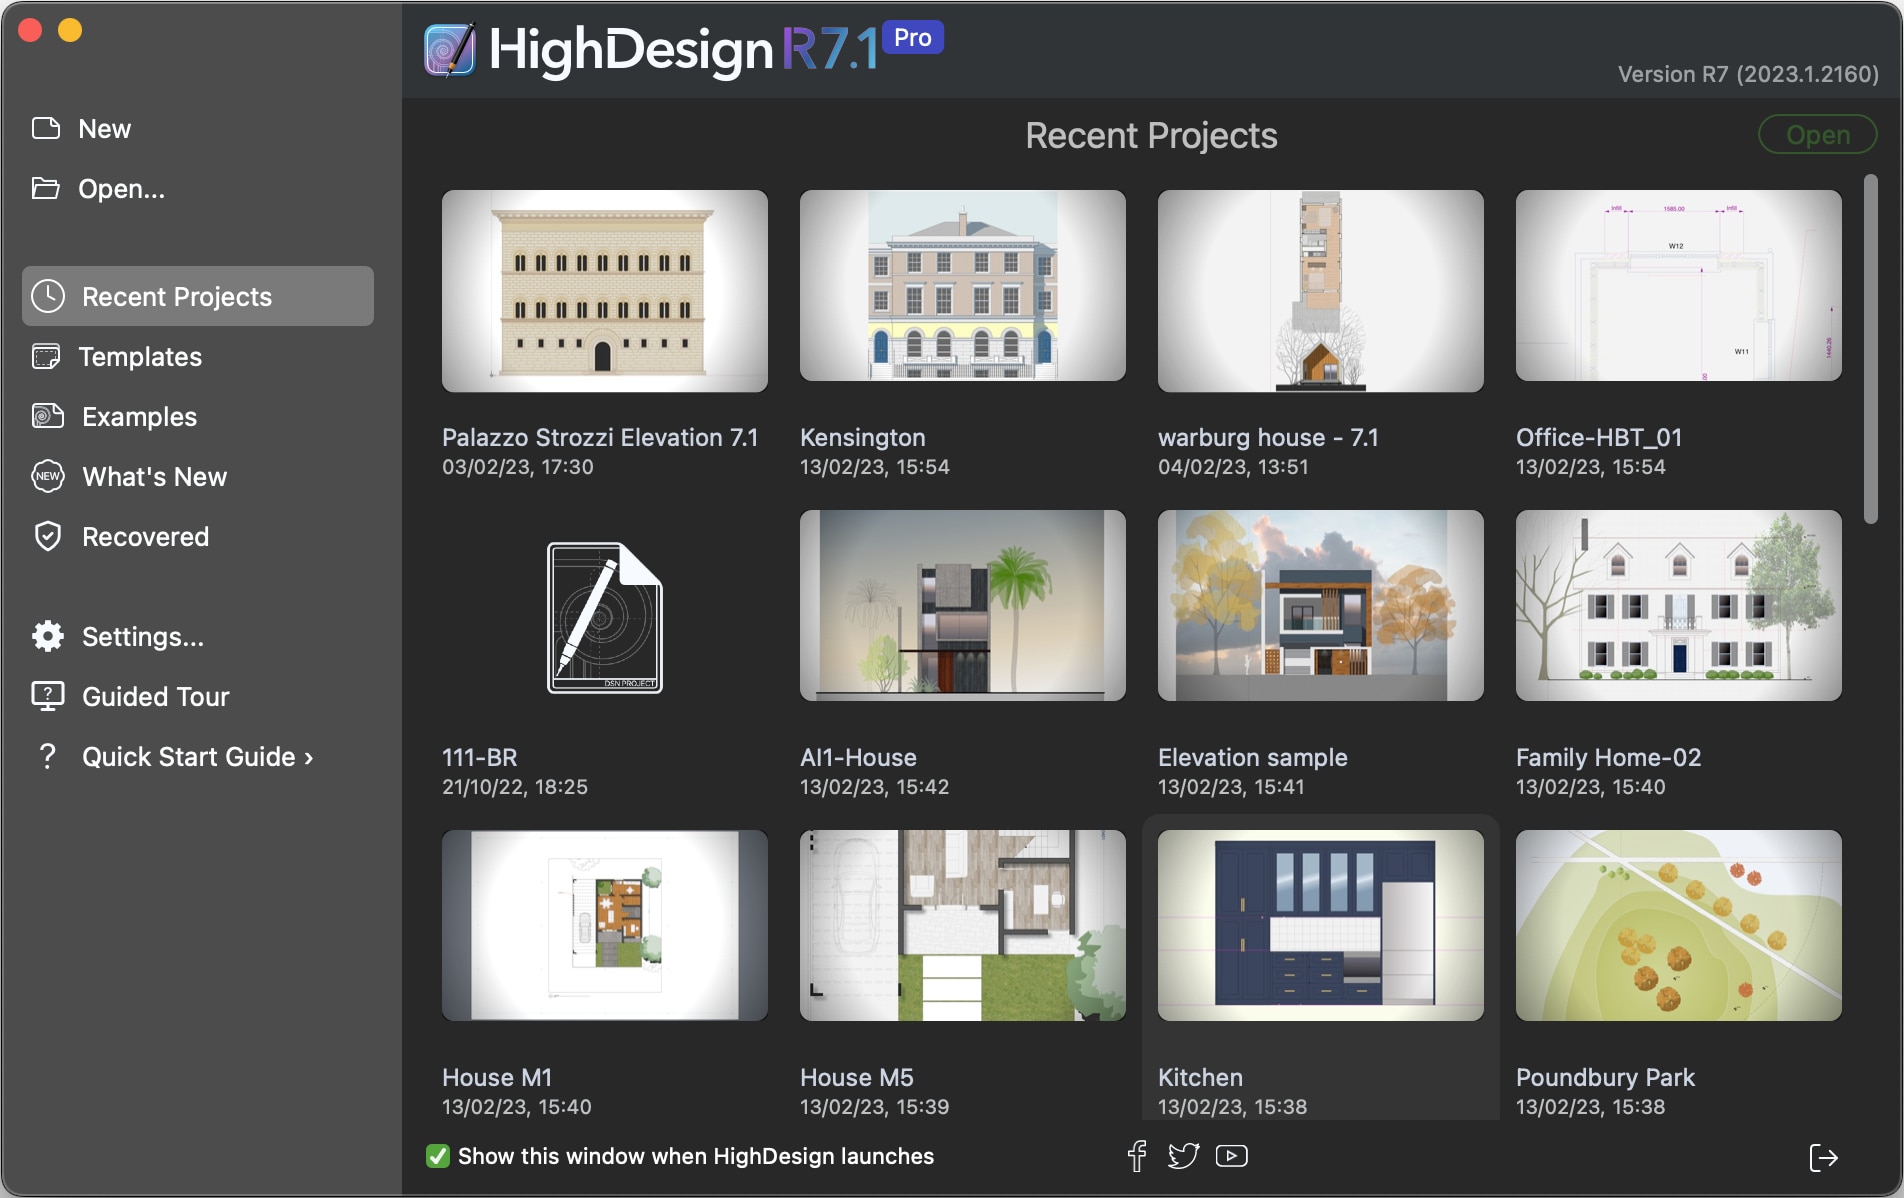
- New: creates a new, empty project.
- Open: opens the default Open File dialog to open a HighDesign (.DSN) file or AutoCAD drawing (.DXF, .DWG).
- Recent projects: browse a list of recently-opened projects. Only .DSN projects are listed. Select a file and click the Open button or double-click to open it.
- Templates (Pro): this section contains the built-in and user templates.
- Examples: open an example to explore the features and the possibilities of HighDesign.
- What’s New: shows a summary of the new features in the current version.
- Recovered: this section lists any auto-saved files that may be detected when the application launches. If you need to open a recovered file, select it from the list and press the Open button. Important: note that auto-saved files are not retained after the application quits, so any recovered file that is not opened and saved when detected will be lost.
You can access the Recovered section at any time during the session. - Settings: opens the Application Settings window.
- Guided Tour: starts a tour of the user interface of the main Project window.
- Quick Start Guide: opens the web page of the HighDesign Quick Start.
Project Window
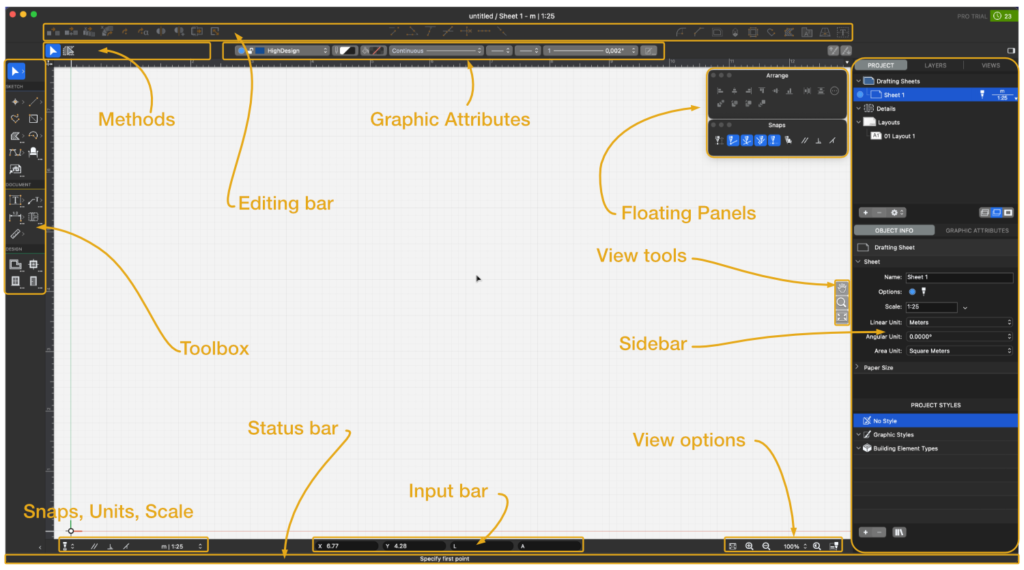
- The Drawing Area in the middle of the project window displays the project views.
- The toolbars provide essential functions, such as the drawing tools and methods, the input fields and commands, the edit functions, and the properties controls. Through these commands, arranged in logical areas, all the drawing functions are easily accessible.
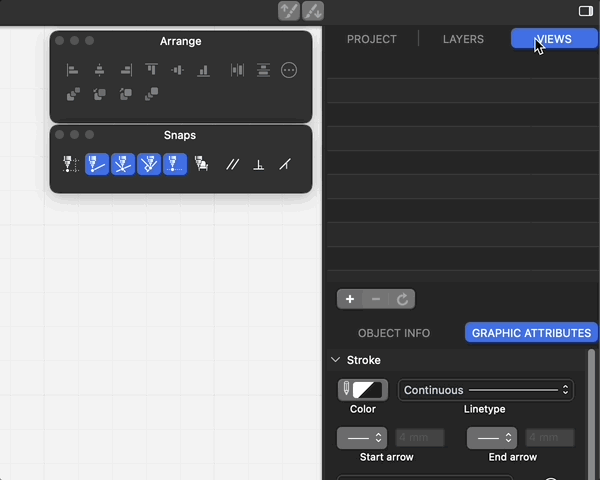
- The Sidebar provides functions that are mainly used to organize the project and manage project elements: the Project Browser and the Views panels, Object Info and Graphic Attributes, and the Project Styles panels.
- The Menu bar on the top of the project window displays the menus listing almost all of the program functions, commands and features.
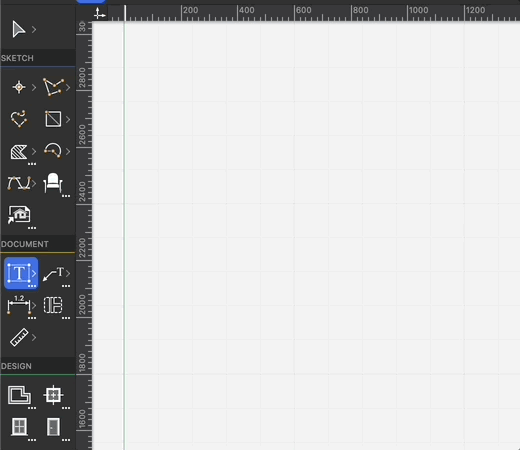
Toolbox

The HighDesign Toolbox provides easy access to all the tools you need to construct your model and document your drawings. It is organized in four main groups defined by their purpose: Select, Sketch, Document and Design.
The icons in the toolbox can be arranged on one or two columns by clicking the resize icon on the bottom side of the toolbox.
Using the buttons
Use the tools on the toolbox to draw lines, circles, shapes, insert texts, dimensions, pictures, etc. A tool can have multiple methods, each with its own sequence of steps and inputs required to construct a specific object.
For example the Arcs and Ovals tool includes the methods to create circular arcs by center and radius, by diameter, by two points and radius, by three points by tangents; ellipses by radii, by box and quarter of ellipse.
- Click on any button to activate the tool.
- Click the arrow to open the pop-up list of the tool methods.
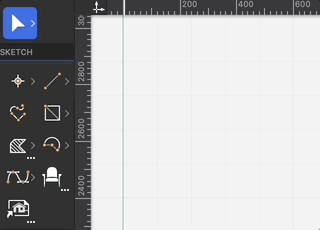
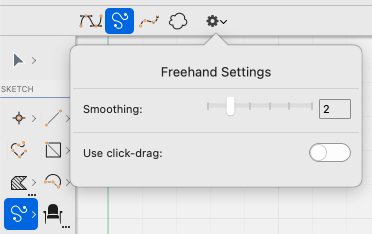
Some tool icons show three dots in the bottom-right corner: that means that the tool offers more advanced properties needed to construct the object. This is typically used for more complex objects like symbols, hatches, texts or dimensions.
- Double-click the tool to open its Tool Settings window.
In HighDesign Pro, you can also right-click a tool icon to open the Styles panel. This panel shows the available styles or types for the clicked tool.
- Right-click (or ctrl-click) a tool icon to open the Styles panel and select a style.
The Properties Bar

The Properties bar is divided into two areas:
- The first area shows the methods of the current tool, expanded to show all the icons on one row when there is enough space, or compressed to a single icon and drop-down menu.
- Some methods require additional parameters, like the number of sides of a polygon or the leading side of a wall. The option control is visible after the method icons.
- The second area shows the most common properties: layer, pen color, fill, line type, start and end markers, pen size, and the settings button that opens the Tool Settings window for the current tool when available. If one or more objects are currently selected, changing a property modifies all the selected objects. If there is no selection, the Properties bar shows and modifies the current default properties that are applied to new objects.
Each button opens its own menu or panel, with options and commands specific for that property.
Editing Tools

The Editing Bar shows the most commonly used editing tools. It is divided into three groups: Transformations, Line editing, Shape Modifications.
Only some of the editing tools are shown in the editing bar. Other more specialized tools can be found on the Tools menu.
- Click an icon to activate the tool. If the icon is disabled, you need to select one or more objects first. Click again to cancel.
- By default, the step-by-step instructions to use the tool are visible on the status bar, at the bottom of the window.
- Some tools, like Multiply or Rotate by Angle, open a floating panel that allows the definition of some parameters. These windows stay open while the tool is active and can be accessed at any time during the steps of the editing operation.
- The Transformation tools provide access to the functions that apply geometric transformations to the objects: Move, Duplicate, Linear and Polar Multiply; Free Rotation and Rotation by Angle; Mirror and Mirror & Duplicate; Stretch; Resize. Most of these tools are only enabled when a compatible object is selected.
- The Line Editing tools include functions that apply to linear objects: Find Intersection, Join, Extend, Split, Trim, Divide in Parts and Break.
- The Shape Modification tools apply more complex edits that modify the shape of the object and add or remove elements, like Fillet and Chamfer, Offset, Extrude, Explode, etc.
Input Bar, Option buttons and Status Bar
The lower part of the main window hosts the group of toolbars that allow you to control snaps and drawing constraints, set the current drawing scale and units, enter coordinates and values, and change the zoom factor and other view options.

While you can control those options from other panels and menus elsewhere, these buttons are always available here for easy access and review.
Sidebar and Panels
The side of the main window contains the Sidebar where the utility panels are easily accessible and organized in groups. The sidebar fills the side of the drawing area and can be resized to show more content.
In HighDesign SE and HighDesign Pro, you can reorder your sidebar panels by dragging them to a new group, resize the groups, and drag the panels out of the sidebar and open them as floating windows.
The sidebar can be minimized to a vertical tab bar, so it does not take up screen space when the panes are not in use. Click a tab to open the panel as a pop-up window and click outside to close it.
You can also open and close panels from the Window > Panels menu.
The panels provide access to the most used features: navigating among the items of the project, activating and deactivating layers, storing and activating project views, view and edit the geometric and graphics properties of the selection.
Typically, a panel does not replicate the full features that are available for its function, so as to keep its use quick and straightforward. Those feature that provide more advanced options, like layers or styles, a button opens the feature manager where you can make further adjustments and customizations.